Benefits and Limitations of Plastic Ponds
Why you might choose one
A preformed shell gives you a defined footprint and can simplify a smaller water-feature project. It requires less custom shaping than a flexible liner and may be installed relatively quickly when the site is flat, accessible, and free of difficult rock.
You may also appreciate the clean edges and built-in planting shelves. On a smaller property, the fixed size can help prevent the pond from overwhelming your yard.
Where a preformed pond may not work
The fixed shape limits your design options. Some shells are also too shallow for larger fish or dependable winter protection in colder Colorado locations.
A preformed pond can also become difficult to repair if it settles. Correcting an uneven shell may require draining the pond, removing plants and stone, excavating around it, and resetting the entire feature.
The shell price should not be confused with the total installed price. Even an inexpensive plastic pond may require professional excavation, drainage correction, electrical trenching, imported bedding, hauling, or significant landscaping.
How to Choose the Right Pond Location
Begin with the intended purpose. Decide whether you want the pond for appearance, aquatic plants, wildlife, fish, a fountain, or a waterfall. That choice affects the size, depth, sunlight, circulation, and maintenance requirements.
Place the pond where you can enjoy it from a patio, window, walkway, or seating area, but do not choose the location based on appearance alone.
Consider these site conditions:
- Large trees can create root conflicts and heavy leaf debris.
- Natural low spots may collect muddy runoff.
- Steep slopes can direct sediment toward the pond.
- Nearby foundations may be affected by uncontrolled overflow.
- Tight access can make excavation and material removal more difficult.
- Hidden irrigation or electrical lines may conflict with the excavation.
You also need long-term service access. Pumps, filters, valves, pipes, and electrical components should remain reachable after the landscaping is finished.
Colorado Conditions That Affect Pond Installation
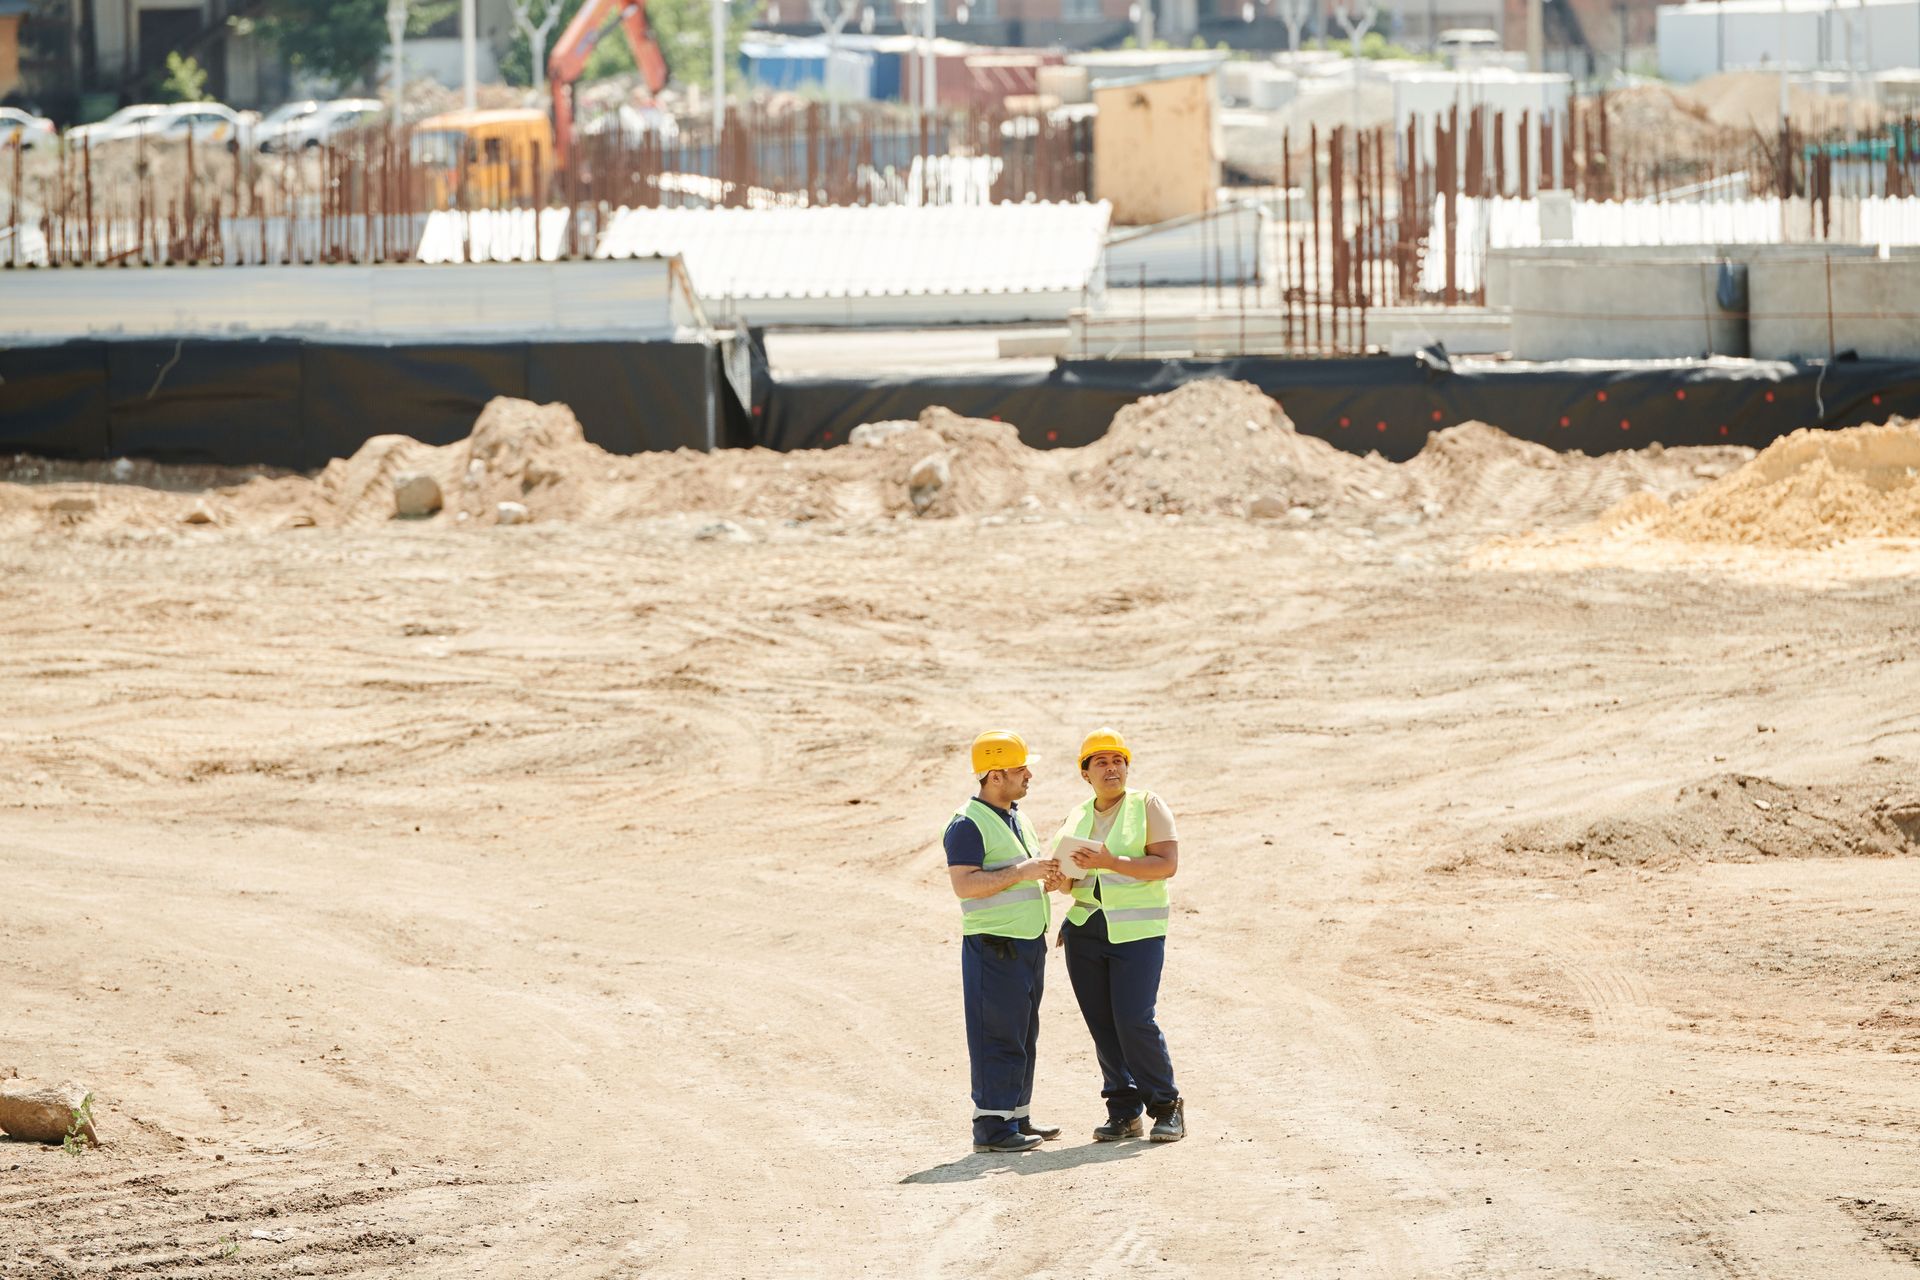
Western Colorado soil conditions can change considerably between properties. One yard may have workable soil, while another contains cobble, dense clay, construction debris, large roots, or shallow bedrock.
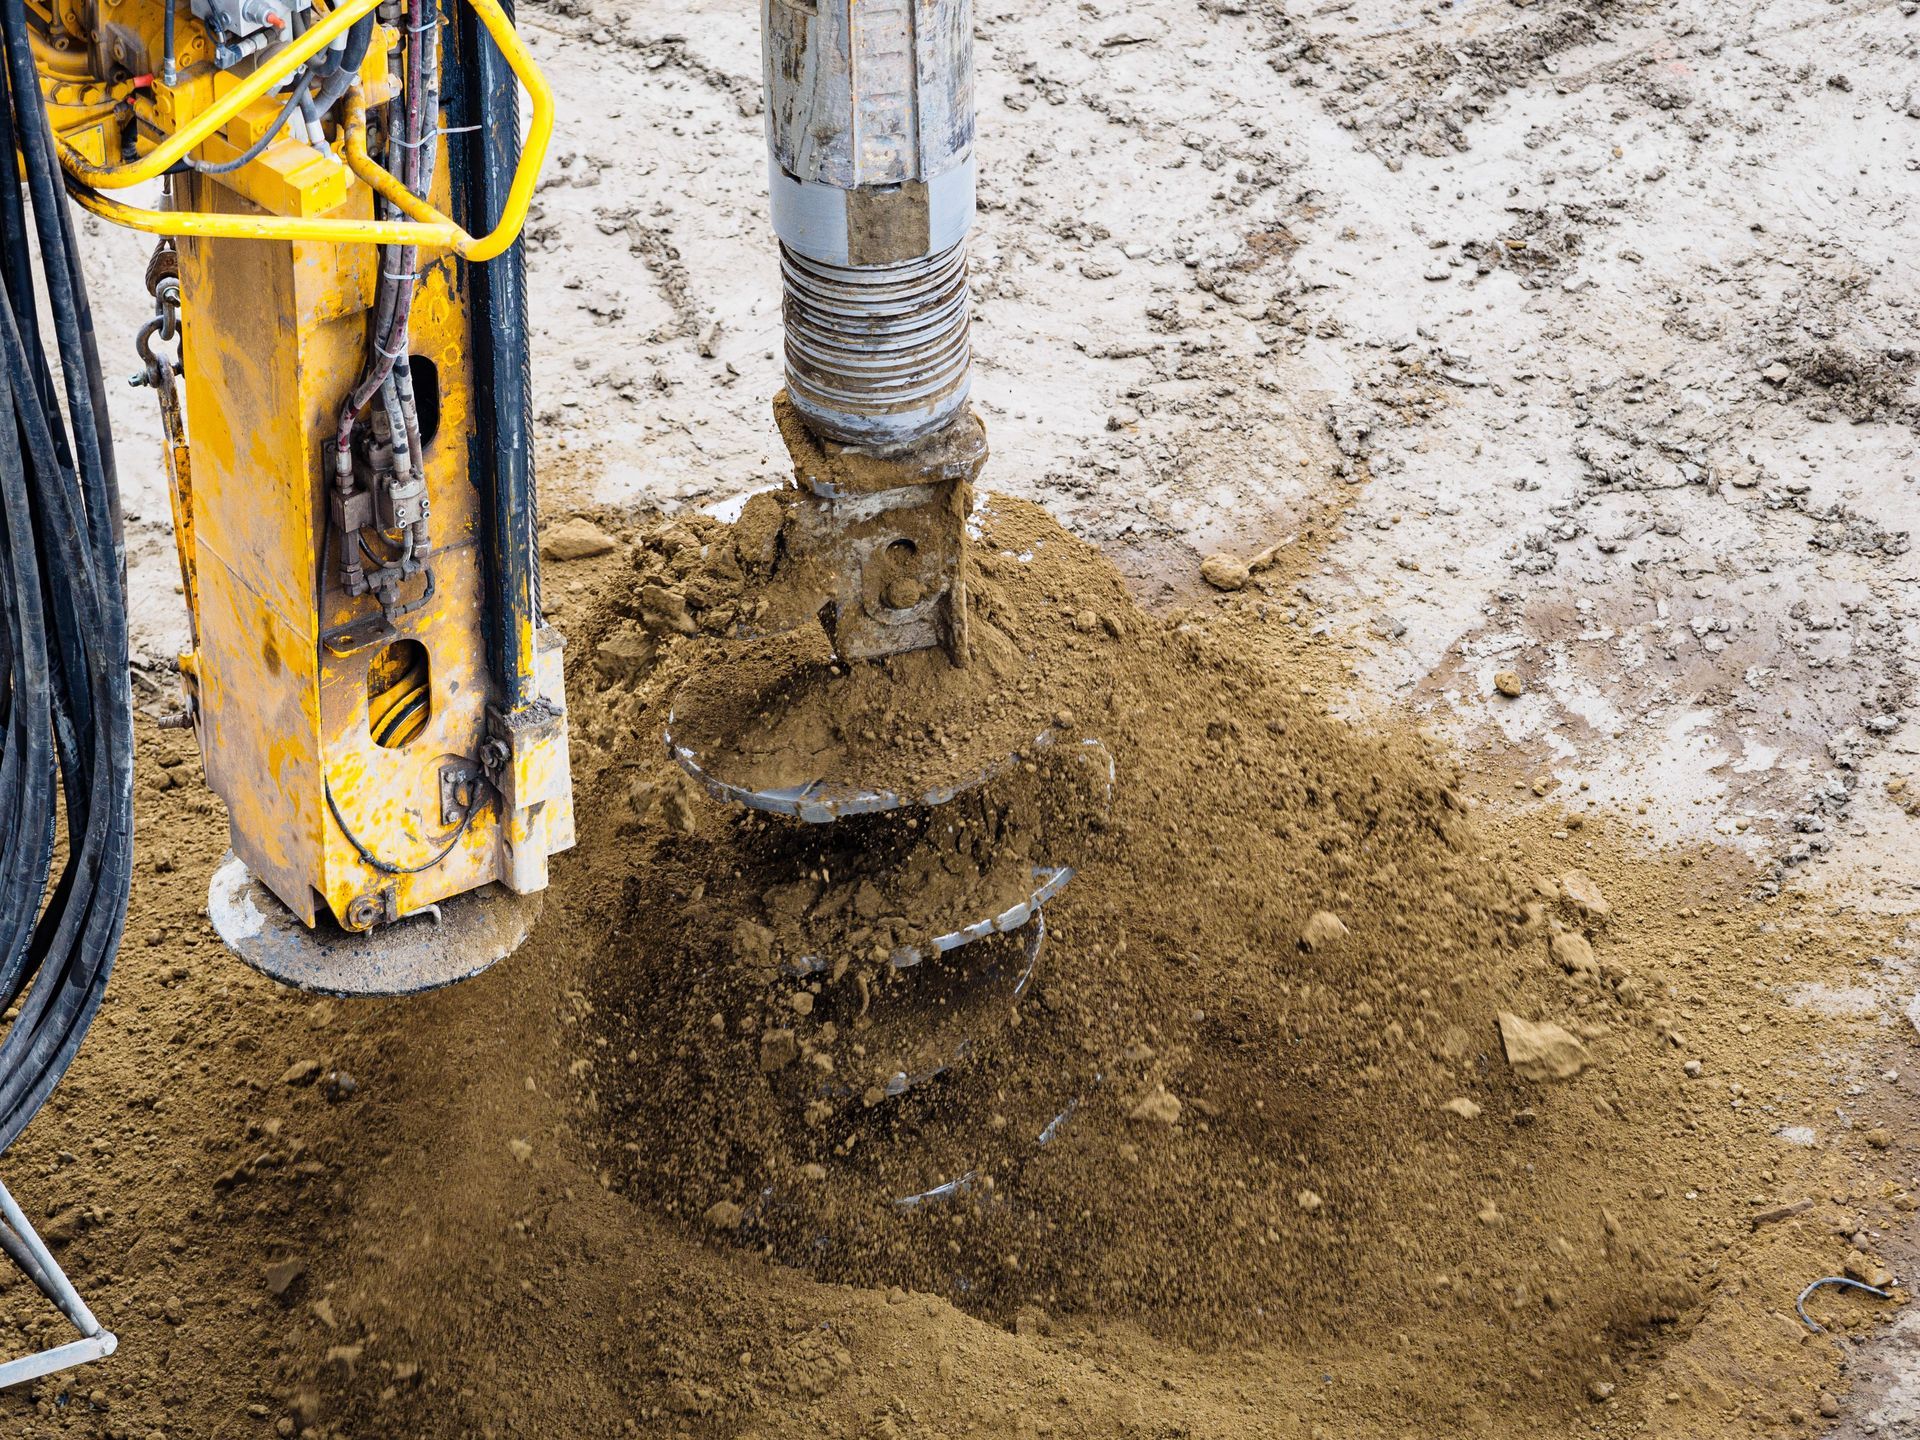
Rocky ground slows excavation and creates pressure points that must be removed before the shell is installed. Sloped terrain may require wider grading, retaining support, erosion protection, or a controlled overflow route.
Freeze and thaw cycles are another consideration. Poorly drained plumbing, edging, and surrounding soils may move during seasonal changes. Your winter plan should address the pond shell, pump, filter, exposed pipes, fish, and aquatic plants.
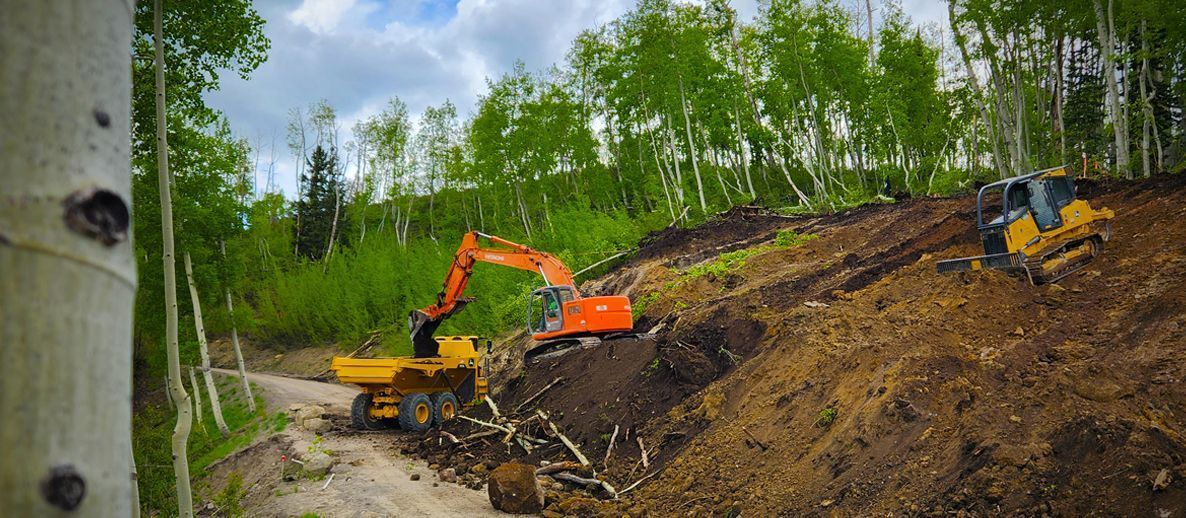
A practical lesson from Able Excavation’s work across Western Colorado is that the visible feature is rarely the entire job. The plastic pond may be small, but access, rock, excavated soil, utilities, and water movement often determine the real scope.
How a Preformed Pond Is Installed
1. Measure the actual shell
Measure the widest points, total depth, shelves, plumbing openings, and intended orientation. Product descriptions may not account for every curve or shelf that must be matched during excavation.
2. Mark the site and locate utilities
Place the shell on the ground and mark its perimeter. Confirm that the location leaves enough space for edging, plumbing, maintenance, and landscaping.
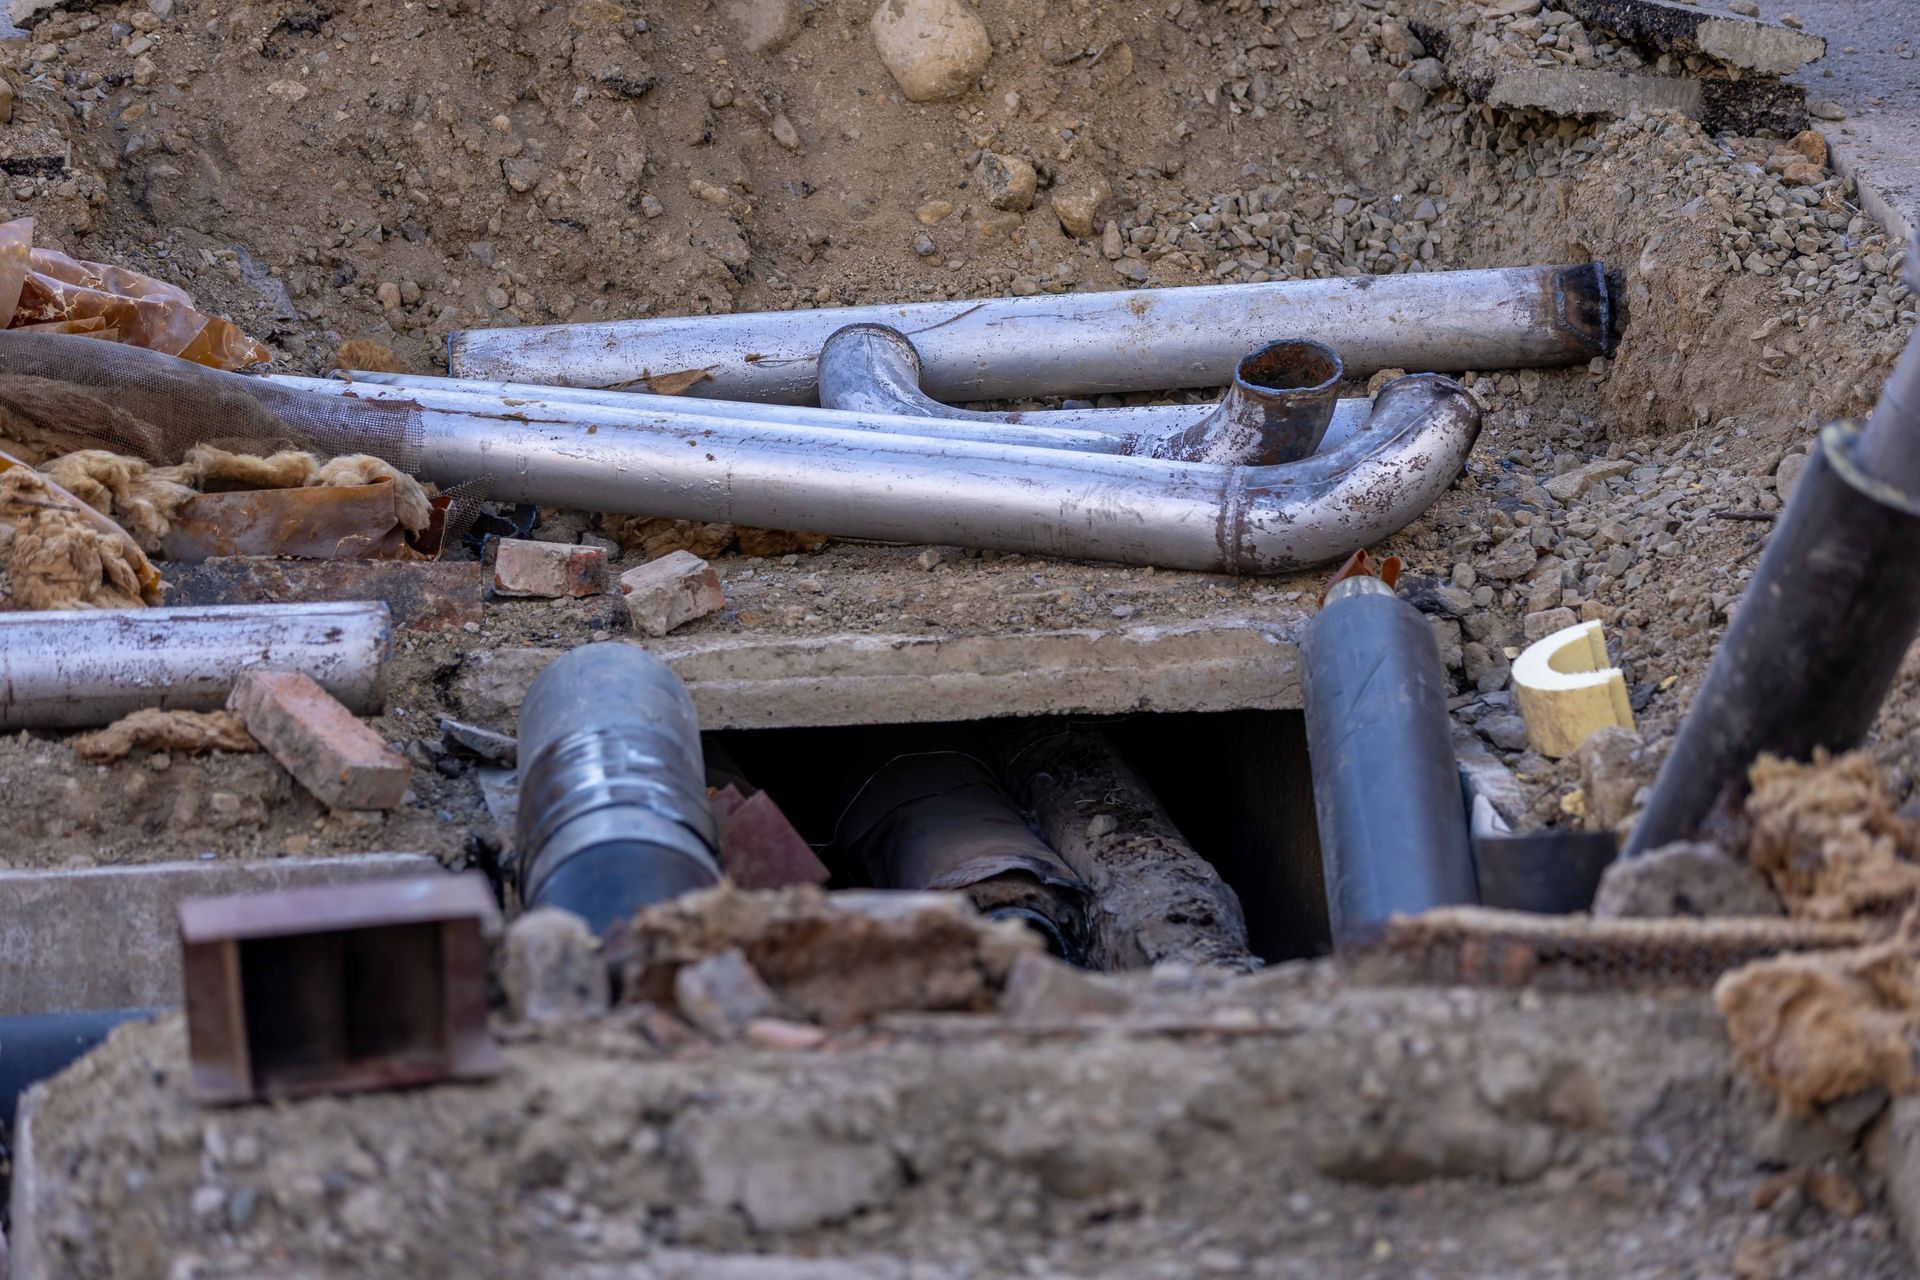
Request a Colorado 811 locate before digging. You may also need private locating for irrigation lines, landscape lighting, propane service, well components, septic piping, or electrical feeds located beyond the public utility connection.
3. Prepare access and excavate in stages
Plan how equipment, removed soil, bedding, gravel, stone, and landscaping products will move through the property.
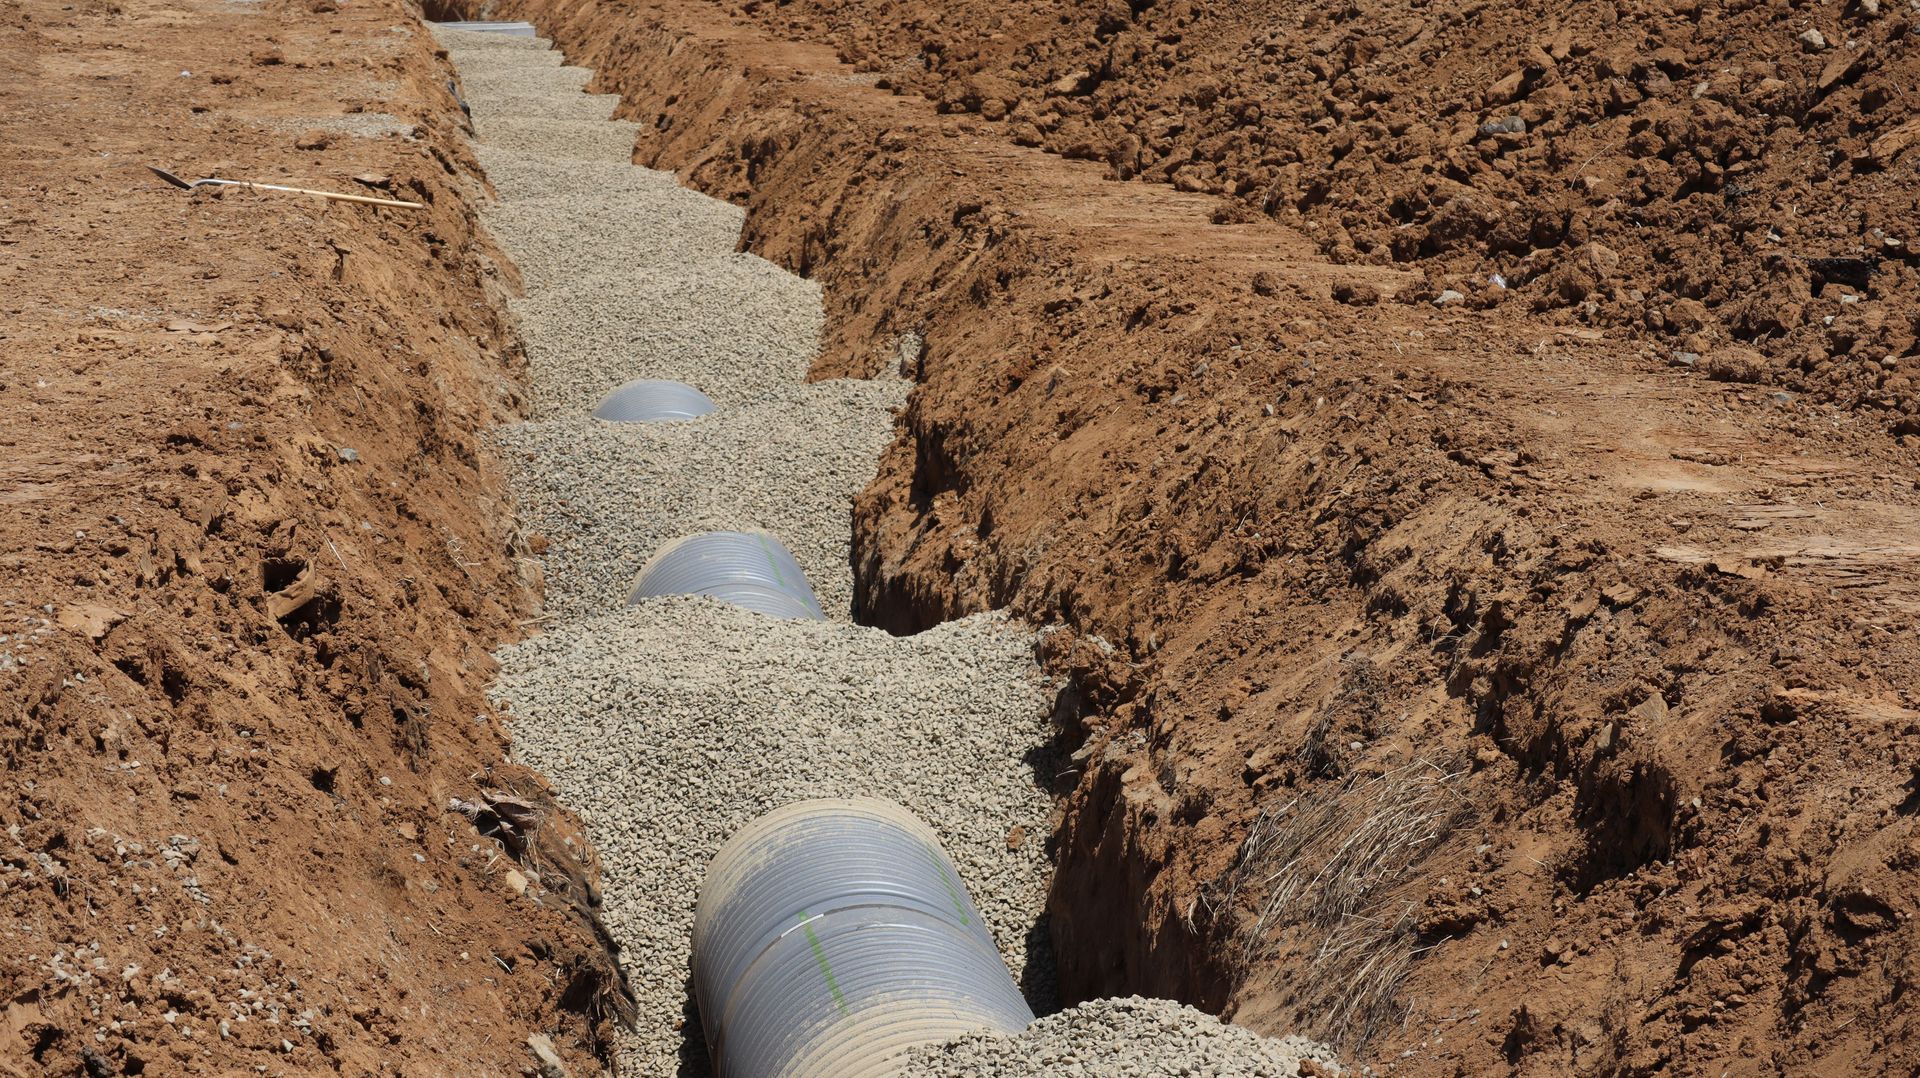
Excavate the main footprint first, then carefully form the deeper sections and shelves. Avoid excessive overdigging. Large gaps around the shell require additional backfill and make uniform support more difficult.
4. Prepare a smooth, level base
Remove rocks, roots, sharp objects, loose soil, and construction debris. Install the bedding material recommended by the shell manufacturer.
Check the base in several directions. Water creates a perfectly level line, so even a small installation error becomes noticeable once the pond is full.
5. Set, fill, and backfill the shell
Place the empty pond into the excavation and recheck its position. Add water gradually while evenly placing and consolidating backfill around the outside.
Filling and backfilling together helps support the pond walls and reduces the risk of movement or distortion. Do not dump a large quantity of material against one side or use heavy equipment in a way that places pressure on the shell.
6. Install pumps, plumbing, and electrical service
Determine whether you need a circulation pump, filter, fountain, waterfall return, skimmer, overflow line, or automatic water supply.
Electrical equipment near water must be appropriate for an outdoor wet environment. Have qualified professionals complete electrical work when required.
Keep pumps and filters accessible. Hiding equipment is useful visually, but you should not have to dismantle the landscaping every time the system requires cleaning or repair.
7. Complete grading and landscaping
Shape the surrounding ground so runoff does not carry soil, fertilizer, mulch, or animal waste into the pond. Plan a stable route for overflow during storms, snowmelt, or accidental overfilling.
Able Excavation describes effective land work as:
“Understanding how water moves, how soil behaves, and how to shape terrain in a way that works with nature rather than against it.”
That principle applies directly to a successful pond installation.
Why Drainage and Overflow Matter
A pond installed in a natural low spot may collect sediment, lawn chemicals, leaves, and debris from the surrounding property. This can cause cloudy water, algae growth, pump problems, and frequent cleaning.
Your pond needs a defined overflow route. Excess water should not flow toward:
- Your home or another building
- A driveway or roadway
- A septic tank or absorption field
- An unstable slope
- A neighboring property
- An area vulnerable to erosion
On difficult sites, the pond project may need minor regrading, a swale, rock protection, a drain, or another controlled outlet. This is where installation overlaps with professional
drainage and landscape work.
What Does a Preformed Pond Cost?
As a broad 2026 national planning range, many professionally installed ponds cost approximately $1,200 to $5,700, with an average in the mid-$3,000s. Treat that as an initial benchmark rather than a Colorado project quote.
Your total cost may include:
- The plastic or fiberglass shell
- Excavation and base preparation
- Rock, root, or debris removal
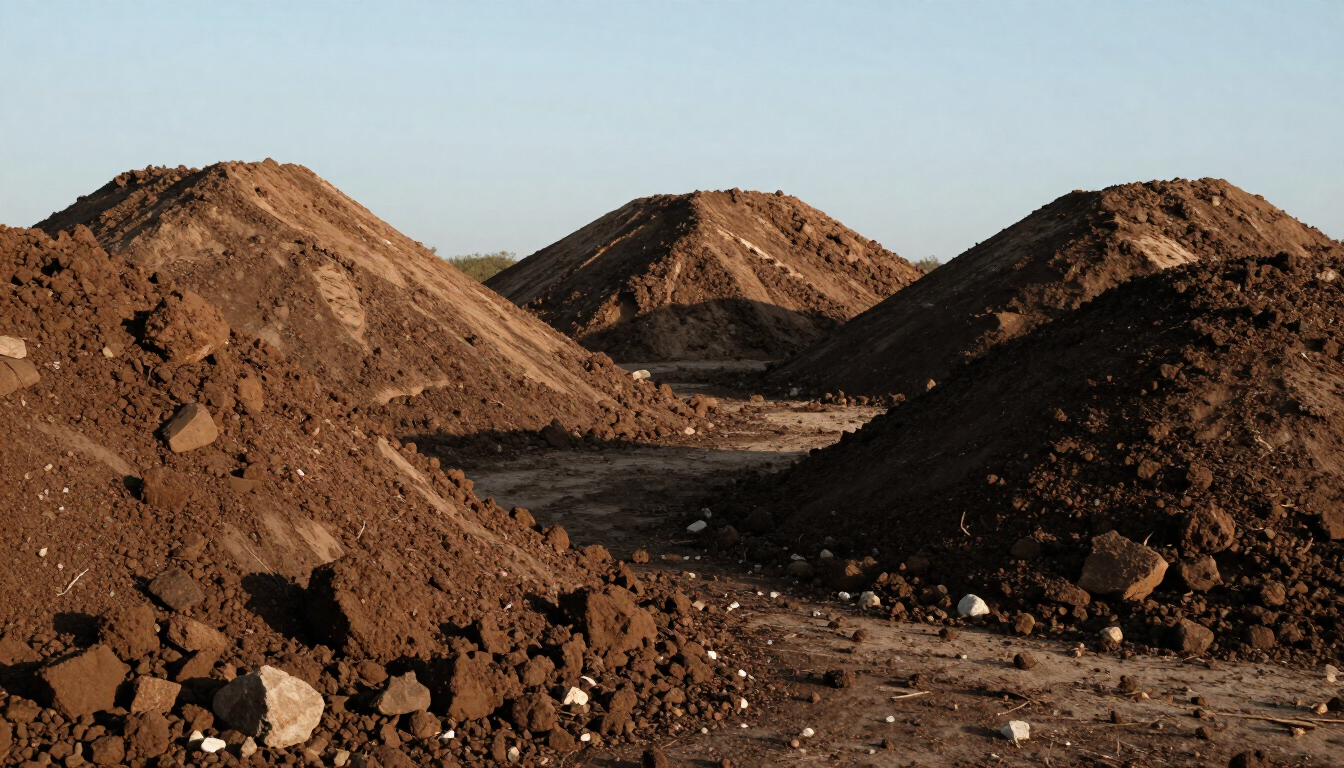
- Spoil hauling
- Bedding and backfill materials
- Pump, filtration, plumbing, and overflow
- Electrical trenching and electrical work
- Stone, plants, edging, and finish landscaping
- Drainage correction or slope stabilization
- Cleanup and restoration
A small pond on an open, level property may stay near the lower end. A project with rock, limited backyard access, a waterfall, premium stone, extensive trenching, and drainage improvements may cost considerably more.
Ask for a written scope explaining what is included. Excavation, hauling, bedding, backfill, utilities, finish grading, landscaping, and cleanup should not be left to assumption.
When Professional Excavation Is Worth It
You may be able to install a very small shell by hand when the ground is soft, the site is level, and there are no utility or drainage concerns.
Professional excavation becomes more valuable when your property has:
- Rocky or heavily compacted soil
- A large or heavy pond shell
- Sloped or unstable terrain
- Restricted equipment access
- Significant excavated soil
- Underground utility conflicts
- Electrical or waterline trenching
- Runoff or erosion problems
- A larger landscaping or site-development plan
A contractor who can excavate, grade, haul, and address drainage reduces the number of separate crews you need to coordinate. Able Excavation combines pond construction and landscape earthwork with
trucking and hauling, utility work, and broader
site preparation throughout Western Colorado.
Common Plastic Pond Mistakes
Avoid purchasing the shell before confirming that it fits your property, access route, intended use, and winter plan.
Other common mistakes include:
- Installing the pond over private utilities
- Placing it near septic components
- Leaving rocks beneath the shell
- Failing to support the sides evenly
- Ignoring the finished waterline
- Allowing surface runoff to enter the pond
- Forgetting to provide an overflow route
- Hiding pumps where they cannot be serviced
- Adding fish without planning for depth and winter
- Underestimating excavated soil volume
The most expensive mistake is treating the plastic shell as the entire project. The pond succeeds because the excavation, base, support, drainage, circulation, and surrounding landscape work together.
Final Thoughts
A preformed pond liner can be a practical choice when you want a smaller, clearly defined water feature without building a completely custom pond.
Before you start, look beyond the product itself. Consider utilities, rock, slope, access, spoil removal, drainage, overflow, electrical service, fish, winter conditions, and future maintenance.
When the site is prepared correctly and the shell is evenly supported, your plastic pond is more likely to remain level, attractive, and manageable for years.